Open windows explorer to perhaps the c-drive or some other location you will remember
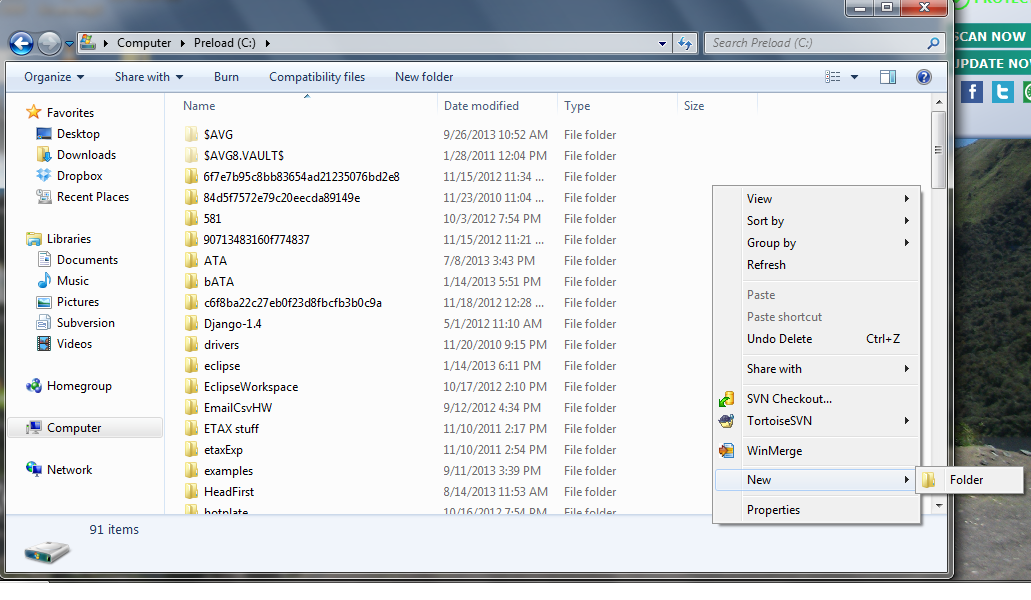
Right click somewhere not on an existing file or folder
Select new > folder
Right click somewhere inside the folder created in step 1
Select new > folder
name the new folder 'portinfo'
Right click again somewhere inside the folder created in step 1
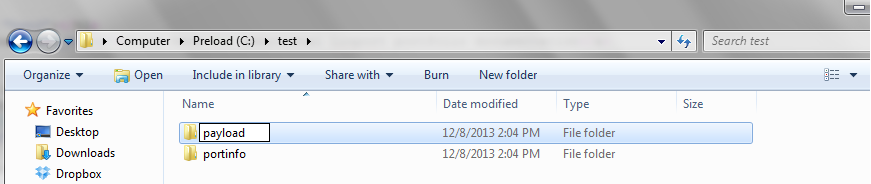
Select new > folder
name the new folder 'payload'
Right click somewhere inside the folder created in step 1
Select new > folder
name the new folder 'misc'
Add any miscellaneous files that are relevant to the entire portfolio to the new 'misc' folder
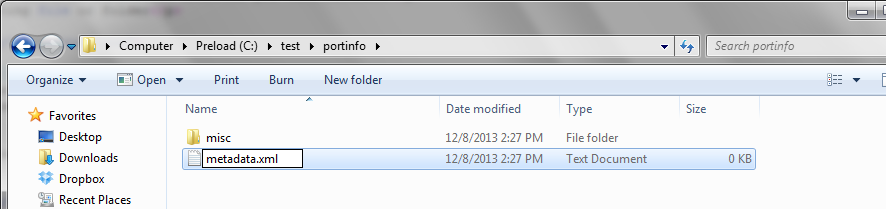
Select new > Text Document
name the new file 'metadata.xml'
Another option is to use an xml editor or a text editor such as notepad to create and save a new file with the .xml extension
name the new file 'metadata.xml'
Open the metadata.xml file in an xml or text editor
Use the metadata reference page found: here to create a metadata.xml page filled with information that describes the whole portfolio
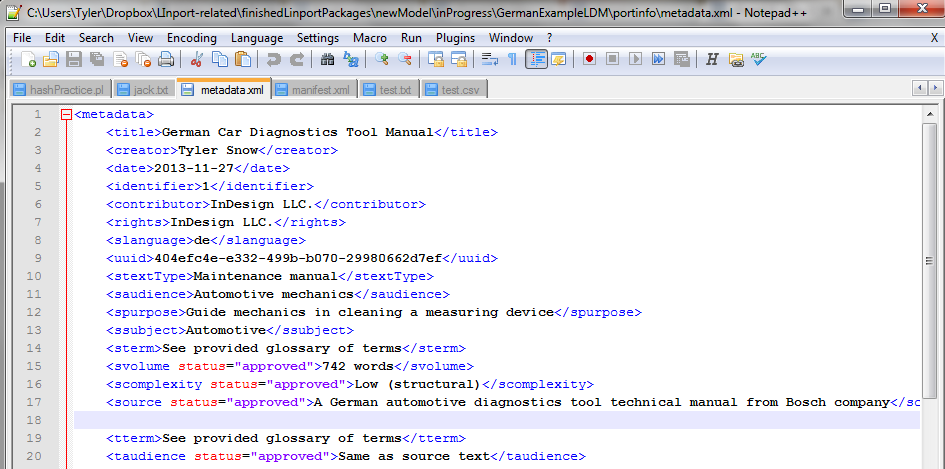
All information is stored between 'metadata' tags. All other available labels can be taken from the reference page.
All metadata elements are optional. However, the slanguage and tlanguage elements should be included if you are planning on splitting the portfolio into TIPPs
As shown in the picture below, add metadata information in between starting and ending element tags using the appropriate label as the tag name
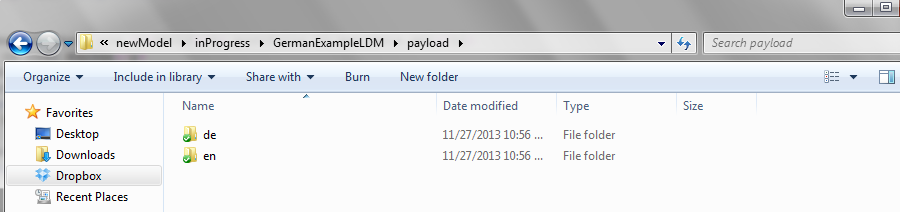
Right click somewhere inside the payload folder
Select new > folder
name the new folder with the language code of the language of the document you will add to the portfolio
A list of language codes can be found here
Repeat for as many languages as needed
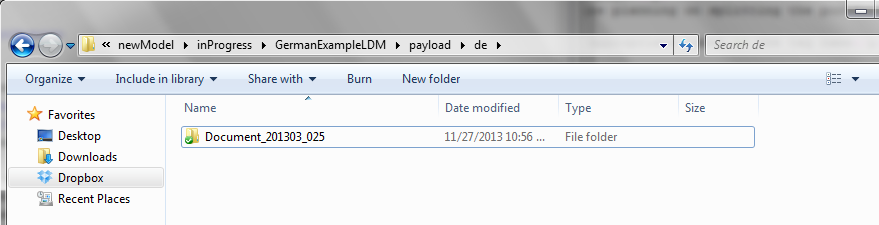
Right click somewhere inside the language folder
Select new > folder
Name the folder the SAME NAME as the document it will contain
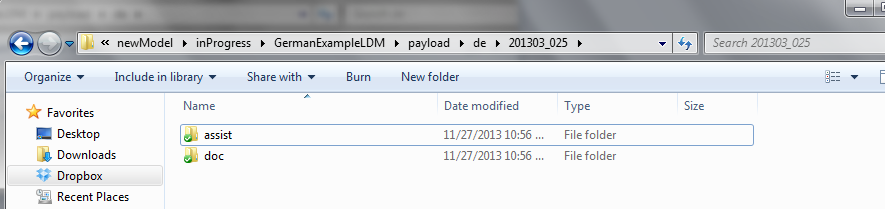
Right click somewhere inside the document folder
Select new > folder
Name the folder 'doc'
Right click somewhere inside the document folder
Select new > folder
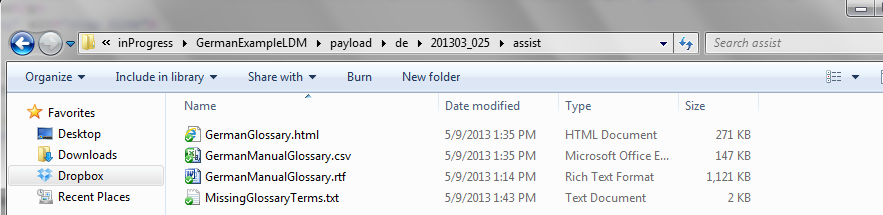
Name the folder 'assist'
Each doc folder can only contain one file
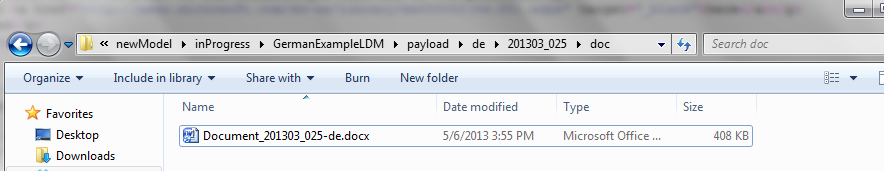
These documents pertain only to the document contained in the doc folder, not the portfolio as a whole
The assist folder can also contain a metadata.xml file like in step 4. This metadata.xml file would only contain metadata information about the document contained in the doc folder, not the portfolio as a whole.
Please see step 4 if you desire to create a metadata.xml file for this document.
Go to the folder containing the portinfo and payload folders
Highlight both the portinfo and payload folders using Ctrl + left click
Release the Ctrl button and right click the highlighted folders
Select Send to > Compressed (zipped) folder
Name the new Linport portfolio (the .zip file)

If you would like to split your portfolio into TIPPs